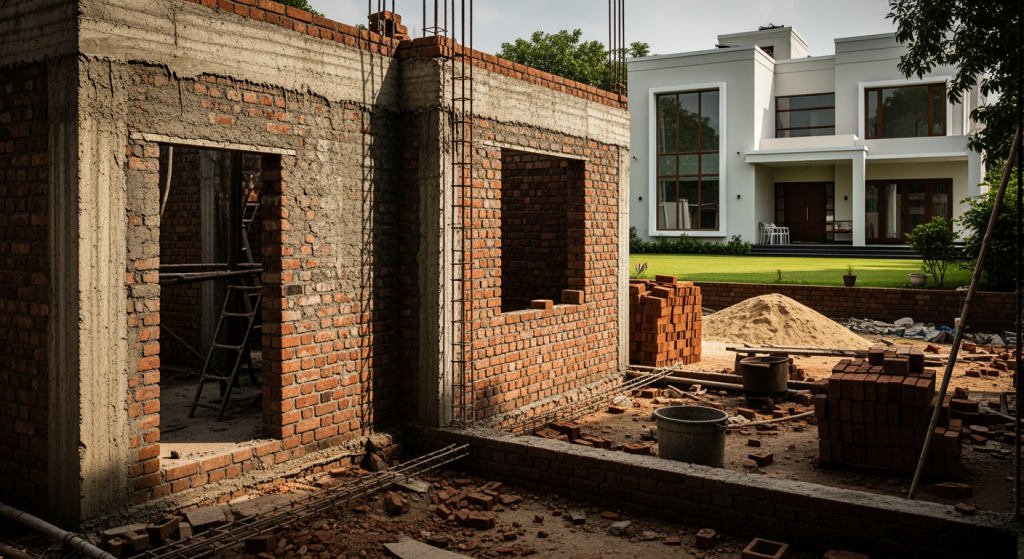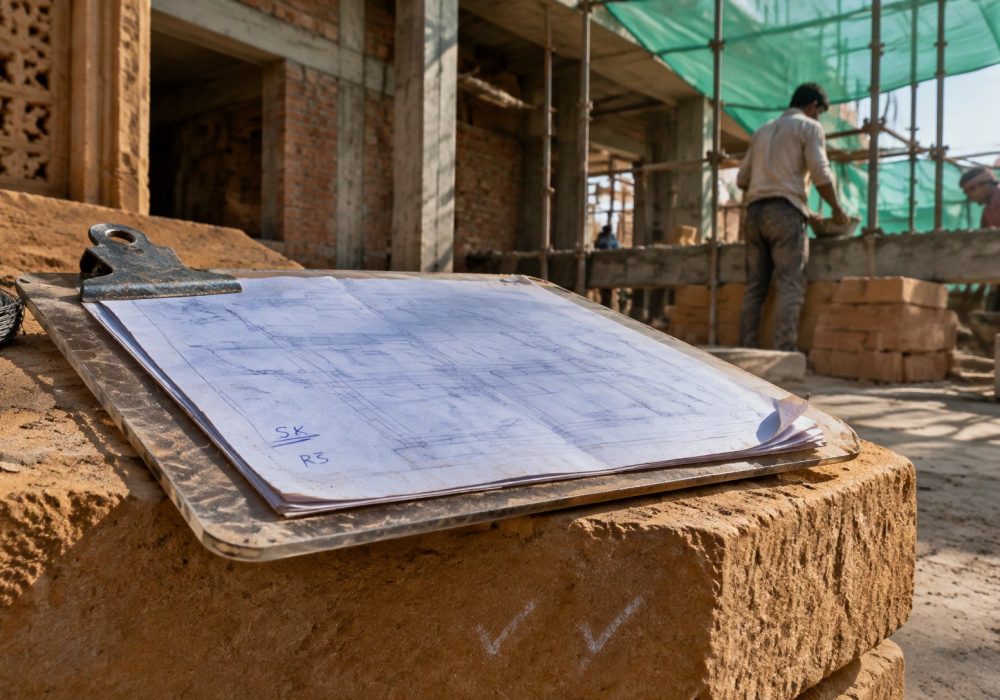
If you have spent any time walking through a dusty plot in Gota, Shela, or along the SP Ring Road in the middle of May, you know the drill. The sun beats down mercilessly, the concrete mixer groans in the background, and someone thrusts a clipboard into your hands. Building a home in this city is exhilarating, but it is also one of the easiest ways to lose sleep. People often ask me for a simple template they can print out and tick off during weekend site visits. But here is the plain truth: a DIY walkaround will never substitute for an accredited structural engineer or a chartered surveyor testing core samples. What you can do, though, is maintain a structured residential construction quality checklist Ahmedabad homeowners can walk through alongside their site engineers to ask the right, pointed questions.
Think of this stage-by-stage guide as your agenda for site meetings. When you know what paperwork and physical markers to ask for at each milestone, contractors realise you are paying attention to the substance beneath the plaster.
Phase 1: Drawings and Material Submittals
Before any earth moves, sit down with your project architect and structural consultant to ensure the paperwork matches reality. A common mistake I see among first-time homebuilders is letting work begin with “good-for-discussion” sketches rather than signed, “Good for Construction” (GFC) drawings. Your pile foundations or footing layouts must strictly align with the soil investigation report for your specific micro-location. A 2022 study by civil engineering researchers at CEPT University highlighted that Ahmedabad’s eastern and western corridors possess noticeably different soil-bearing capacities, ranging from loose alluvial sand to expansive black cotton soil. If your foundation drawing does not reflect your specific bore-log test, stop right there.
During this stage, review your material submittals together:
- Cement batches: Verify whether the structural design specifies 43-grade or 53-grade Ordinary Portland Cement (OPC) for structural members, or Portland Pozzolana Cement (PPC) for masonry. Check the manufacturer test certificates for every batch that lands on site.
- Steel grades: Ensure the TMT rebar delivered matches the specifications (typically Fe 500D or Fe 550D) and carries legible BIS markings on the ribs. Don’t skip our guide on INTERNAL_LINK_1 to understand regional supplier verifications.
- Local approvals: Cross-reference the drawings against the sanctioned plans from the Ahmedabad Municipal Corporation (AMC) to verify that setbacks, lightwells, and FSI calculations remain fully compliant with current development control regulations.
Phase 2: Reinforcement Logs and Concrete Quality
Once columns, beams, and slabs are being tied, the pace picks up rapidly. This is where you need your structural supervisor on site with callipers, a measuring tape, and a concrete testing register. Never accept a slab pour based purely on a quick visual glance from the ground.
Before greenlighting the ready-mix transit mixer or manual pour, sit down with the clerk of works to review:
- Cover blocks: Ensure cast-concrete or PVC cover blocks of the right depth (typically 20mm for slabs, 40mm for columns) are placed at tight intervals so steel does not touch the shuttering plywood. Exposed steel leads directly to early corrosion in Ahmedabad’s dry, salty air.
- Bar-bending verification: Check bar spacing and lap lengths against the structural engineer’s bending schedule. Laps must be staggered, never clumped in one place where stress peaks.
- Pour records and slump tests: For every pour, ask to see the on-site slump cone test log to confirm workability without excess water. More importantly, confirm that the team casts at least six test cubes per batch for 7-day and 28-day compressive strength testing in a NABL-accredited laboratory. You can read more about evaluating these lab certificates in our overview of INTERNAL_LINK_2.
Phase 3: Waterproofing and Concealed Services
Ahmedabad gets short, ferocious monsoon spells, and there is nothing worse than watching water seep through a brand-new parapet wall in August. Waterproofing and concealed conduit work must be signed off well before wall plaster and floor screed bury them out of sight.
During this phase, schedule joint testing with the MEP (mechanical, electrical, plumbing) consultant:
- Hydrostatic pressure testing: Before internal plumbing lines are plastered over, ensure they are capped and tested under pressure (often 7 to 10 kg/cm² for a continuous 24 hours) with a pressure gauge attached. A drop in pressure means an unseen joint leak.
- Ponding tests for terraces and toilets: Terraces, balconies, and sunken bathroom slabs need a minimum 48 to 72-hour ponding test with coloured water. Check the slab undersides on the floor below for sweating or moisture patches before laying tiles or brickbat coba.
- Conduit separation: Electrical conduits and plumbing chases should never run in the exact same wall slot. Verify that your electrical conduits have pull wires intact and maintain a clean separation from wet lines.
Phase 4: Finishes and Snagging with the Professionals
As you approach completion, visual cosmetics take over, but snagging is far more than spotting chipped wall paint. Bring your interior designer, project manager, and main contractor together for a formal room-by-room snag walk. Under the guidelines established by the Gujarat Real Estate Regulatory Authority (GujRERA), structural and workmanship defects carry five-year rectifications, but catching them prior to final settlement saves countless disputes.
Use this time to review the finishing logs:
- Hollow tile assessment: Use a wooden mallet or golf ball to tap floor tiles and bathroom wall dados. A hollow ring means poor adhesive bonding that will crack under furniture weight later.
- Door and window plumb: Check jambs with a spirit level. In our windy seasons, unaligned aluminum or UPVC window frames will leak rainwater along the sill tracks.
- Earthing loop checks: Have an electrician demonstrate the earth-leakage circuit breaker (ELCB) trip function with a dedicated plug-in socket tester, confirming safe path-to-ground connections across all wall points.
At the end of the day, quality construction is not about trusting your gut or ticking boxes solo. It is about demanding that every specialist you hire leaves an auditable paper trail. When your structural engineer stamps the pour log and your plumber signs off on the pressure test, you can finally move in knowing your home stands on solid ground.